Yoga for Back Pain Relief
Are you experiencing new or chronic back pain? Give yoga a try. The American College of Physicians (ACP) recommends yoga as a first-line treatment for chronic low-back pain.* Yoga for lower back pain relief is a great way to gently stretch and strengthen your muscles. Relaxation and breathing exercises release tension to make it a full mind-body workout.
PosureX back braces can help to give you the support and stability you need to gently start moving again. Our lower back braces relieve pain, massage tense muscles and stabilize the back for an improved posture with a circular knit.
We have selected seven yoga poses for lower back pain relief to mobilize, stretch and strengthen your back. After your yoga session, you’re sure to feel relaxed and energized regardless of your yoga level. Namaste!
Before starting your yoga journey, seek medical advice before self-treating back pain. While attending a yoga class, make sure your instructor is aware of your back issues to suggest modifications.
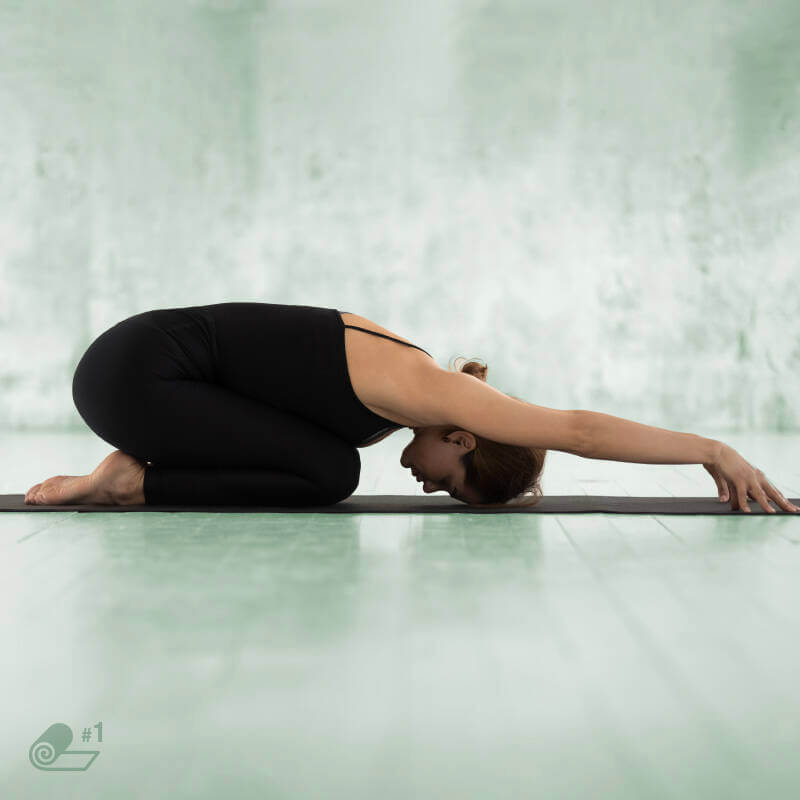
Child’s Pose (Balasana)
Child’s pose gently stretches your lower back, hips, thighs, knees and ankles while relaxing your spine, shoulders and neck.
This calming pose is a good resting position at the beginning or end of your yoga sequence. Use child’s pose to rest and refocus before continuing to your next pose.

To do this:
- Begin in table top position on all fours.
- Bring your big toes together and spread your knees a little wider than your hips.
- On an exhale, sit back on your heels.
- Bend forward and walk your hands in front of you.
- Rest your forehead softly on the floor.
- Keep your arms extended in front of you or bring your arms alongside your body with your palms facing up.
- Lengthen the tailbone.
- Focus on releasing tension in your back.
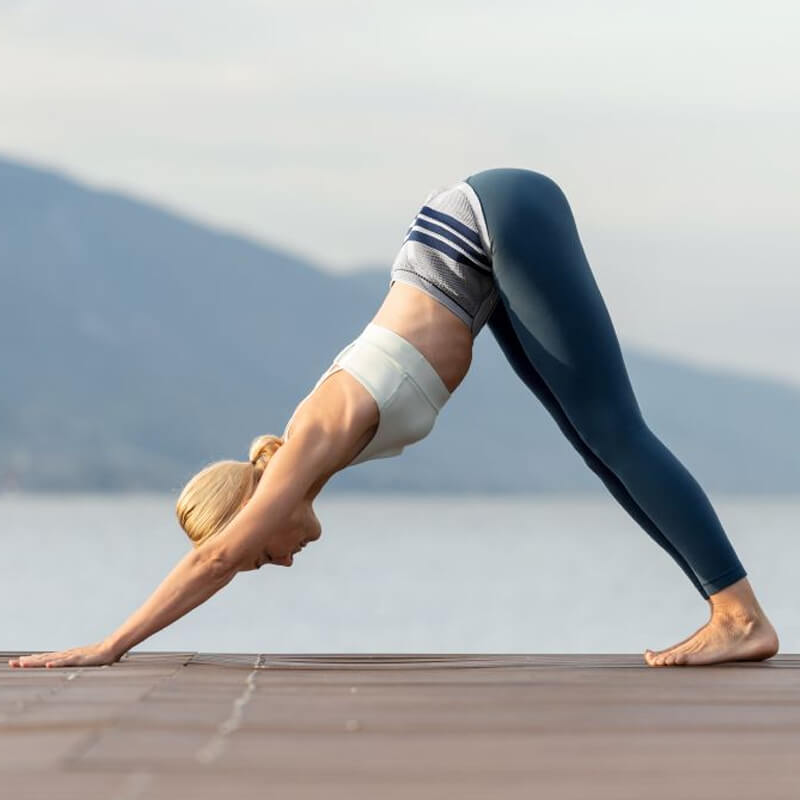
Downward-Facing Dog (Adho Mukha Svanasana)

The Downward-Facing Dog strengthens the arms, shoulders and back while stretching the hamstrings, calves and arches of your feet.
To do this:
- Start on all fours with knees slightly behind your hips and hands stacked under your shoulders. Spread your fingers.
- Curl your toes under. Engage your core, drawing the belly button inwards.
- On an inhale, press your hands into the mat. Exhale, lift your knees up and straighten your legs as much as you can.
- Keep a slight bend in your knees and lengthen your spine and tailbone. Keep your heels slightly off the ground.
- Press firmly into your hands. Pay attention to your hip and shoulder placement while keeping balance between both sides of your body. Keep your head in line with your upper arms or tuck your chin in gently.
